Showing posts with label DIY. Show all posts

Monday, July 11, 2011

Kitchen Redo

In redoing my kitchen we decided to stick to a red white and blue retro colour scheme. After deciding this we designated a "knick knack wall" above the kitchen table, and this was the result:
The shelves are a set of three from Canadian Tire for about $17, we then painted them a white (using PARA Paints- my favourite, a definite recommendation, available at Lowe's or independant retailers)

Then from left to right we have: rooster- Pier 1 a few years ago, mini casserole dish- HomeSense- $4, papered elephant- Michael's- 90 cents on sale, mason jar- on hand, painted metallic on the inside and spraypainted the lid, white mini vase- BouClair- $4, red flower plate- BouClair- $15, and finally the silver apple from BouClair for about $5

Happy Birthday Studs and Pearls

(studs and pearls)

This past Thursday was Studs and Pearls' first birthday and my my what Kirsten has managed to accomplish in a year! She is definitely my favourite blog to read so if you don't already know her go check her out!
http://www.studs-and-pearls.com/

Thursday, July 07, 2011

A Quick & Simple DIY- Flower Cabochon Rings

I love flowers, and everything floral, so of course I love flowery jewelry.
Thats what prompted me to make these:
These little guys are made of three ingredients: 1) Flower Cabochons (a cabochon is basically a nice term for jewelry do-hickey)- I get mine off of eBay. 2) Ring bases/blanks- again easy to find on eBay and 3) My trusty E6000 industrial strength glue


Happy Crafting! -Darby

My Take on a Tutorial- Polymer Clay Beads

So the other day I referenced a tutorial on how to make polymer clay beads (found here)

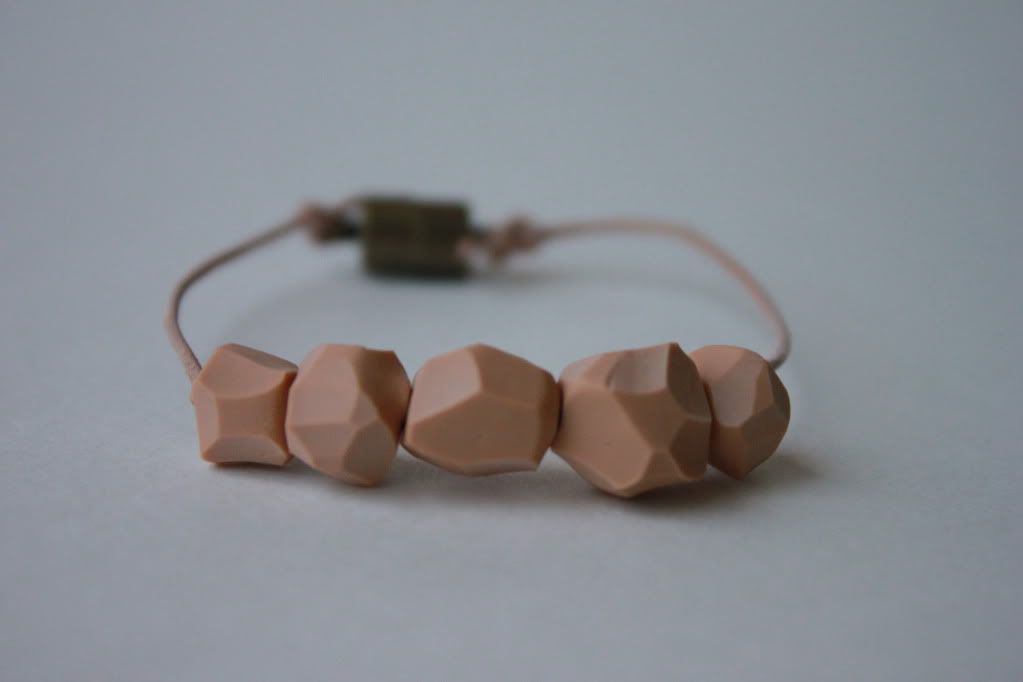
I did this project with my friends, and one friend- Hilary, suggested we marble different colours of polymer clay together. O.M.G. Most awesome idea. We used light blue, tan and neon pink, some plain leather cord ($1.50 at Len's Mills) and some jewelery making pieces (jump rings and lobster clasps).

Don't the marbled colours look so cool?!

From there I also did a couple other variations:
A keychain


And a couple of rings, by just using ring blank (or bases- I always get mine off of eBay), square or rectangular polymer clay pieces and some E6000 to glue it down!


Happy Crafting! -Darby

Wednesday, July 06, 2011

Possibly the simplest DIY ever. No sewing, no glueing.

So I found this little globe on my trip to Hobby Lobby (aka heaven) for only $3 and couldn't resist! I love globes, especially this one for its interesting colouring!


So what did I do with it you ask?


....


Tada!
I bought a $2 glass candle holder from Dollarama and just sat it on top
Pretty sweet for only $5 and basically 0 effort!


Happy Crafting! -Darby

A Must Buy Inspires a DIY

Okay so I of course had to pick up a copy of Erica Domesek's "P.S.- I made this..." because her blog is amazing (check my side links for her blog- I got my copy at Chapter's, also available on Amazon!)


And low and behold I was right away inspired to DIY something, but its not what you'd think... While yes, I LOVE the book and the tutorials it inspired me to do something else not listed in the book.....


...


It inspired me to make my own book of crafts!
I took an old blue binder and decoupaged the front (first with half and half white glue and water, then a top coat of Mod Podge to seal it). Ah, I love a good collage. I also industrial strength glued (E600 is the best) on a black grosgrain clasp and sewed/glued some velcro, covering the messiness with those two purple rhinestones!

Then I rhinesoned the spine and printed out a label with my basic word program (you'd be surprised how pretty you can make a label out of "basic shapes" and some pretty background fill)


I then crafted a title page- I actually photocopied a collage I had previously done because I just couldn't part with the original, then hole-punched it :)

I then filled the front half with tutorials I had previously found and favourited. I condensed them down on my word program to save paper! (This tutorial found here: DIY Minaudiere)
Finally, I made a second section with only my own projects, for now just pictures and titles, but its a work in progress!
P.s. don't you love the birdy paper? Got it last week on sale for 30 cents at Hobby Lobby- score!)
And yet again it never sceices to amaze me what pretty labels can be made on word!

Happy Crafting! -Darby 

DIY Tutorial #2- Shoe Upcycle!

So shoe redecorating has become this huge craze lately, especially with things like "shoe embelishment clips" being sold now!
But i decided to do my own spin on it!
And this is it!
These t-strap shoes used to be so tacky, with not-quite-right ruffles running down the center...I hate them, but they were on sale for $7 at Old Navy, how could I resist right?

So i stitchripped the ruffles off and hand sewed this trim (found at Len's Mill Stores for approx. $3) down the front of it. Not big on sewing? No worries, I'm not either, I just kind of went for it and made sure they were secure.

I know this DIY is more specific to these shoes, but maybe this will inspire you to upcycle your own shoes with trim!

Happy Crafting! -Darby

My first DIY tutorial! Black and White Collaged Shelf

So unfortunately I have like no before pictures of my tutorials (yeah im still a newb lol) but I must say, this shelf was soooo ugly before- sage with gold accents. Bleck.


Step 1) Spraypaint shelf colour of choice, consider painting knobs an accent colour (i.e. mine are black).      Allow drying time!

Step 2) Get picture hunting in magazines! It's best to stick to a colour palette to keep a more uniform look

Step 3) Experiement with the layout of your images, take a picture to reference if you can- saves a lot of time, also consider which pictures must be layed down first

Step 4) Mix half and half white school glue and water in a cup and lay images on- putting mixture below and on top with a cheap paintbrush! 

Step 5) Let dry, then hang!

Happy crafting! -Darby

A MUST Read

One of the best DIY roundups everrrrr ah! Go go go ladies!
Design*Sponge DIY: Best of Shelving

Tutorials I Love Right Now


DIY Rope Necklace 8       


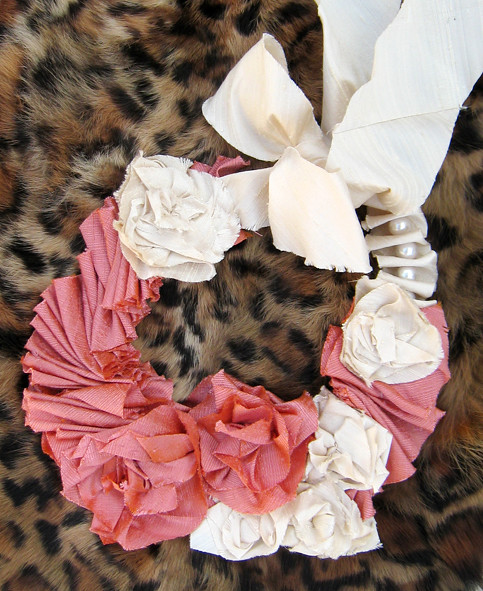
Silk Flower Necklace DIY -on leopard print